Connect Xbox Controller to PC: Wired & Wireless Guide
▼ Summary
– Modern Windows PCs automatically detect and configure game controllers via USB, eliminating the driver issues of older connection methods.
– For a wired connection, use a quality data cable (Micro USB for older Xbox controllers, USB-C for newer ones) and plug it into the PC for automatic setup.
– To connect wirelessly via Bluetooth, put the controller into pairing mode and add it as a device through your PC’s Bluetooth settings.
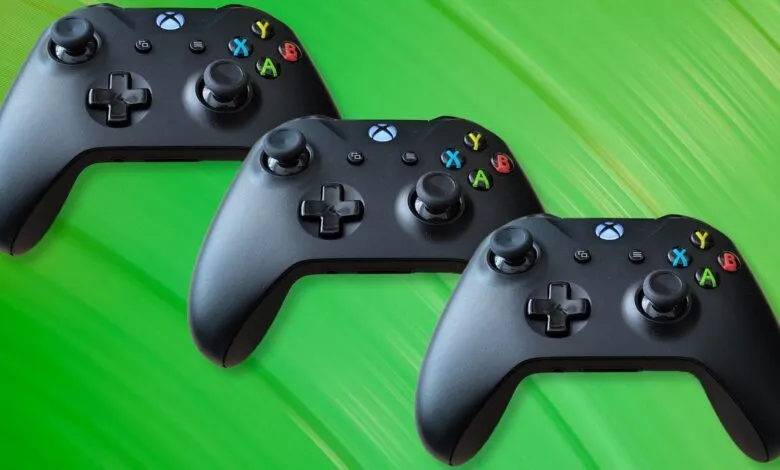
– Pressing the Xbox button on a connected controller launches the Xbox Game Bar, confirming a successful connection.
– The Xbox Game Bar provides quick in-game access to features like gameplay recording, screenshots, performance stats, and game libraries.
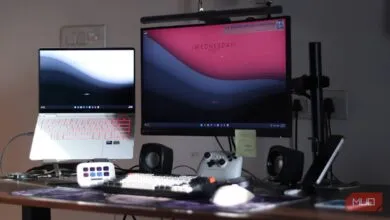
Gaming on a PC with an Xbox controller offers a familiar and comfortable experience for countless titles. Connecting your Xbox controller to a Windows PC is a straightforward process, whether you prefer the reliability of a wired link or the freedom of a wireless setup. Modern Windows systems handle the setup almost automatically, a far cry from the driver conflicts of older gaming peripherals.
For a direct and instant connection, using a USB cable is the most reliable method. First, ensure you have the correct cable for your controller model. Older Xbox One controllers typically use a Micro USB cable, while the newer Xbox Series X/S controllers require a USB Type-C cable. It’s important to use a quality data-transfer cable, as some cables are designed only for charging and will not work. Simply plug the cable into your controller and then into an available USB port on your computer. Windows will recognize the device and install any necessary drivers, usually within seconds. You can confirm the connection is active by pressing the Xbox button on the controller, which should launch the Xbox Game Bar. After that, you’re ready to jump into your game.
If you prefer to play without cables, connecting via Bluetooth is a great option. Begin by turning on your controller by pressing the Xbox button. Then, locate the small connect button on the top of the controller near the USB port and hold it down. You’ll know the controller is in pairing mode when the Xbox button light begins flashing rapidly. On your Windows 10 or 11 PC, click the Bluetooth icon in the system tray (usually found in the bottom-right corner) and select “Add a Bluetooth device.” Ensure Bluetooth is turned on, click “Add device,” and then choose the “Bluetooth” option. Your PC will search for available devices; select “Xbox Wireless Controller” from the list and wait for the pairing process to complete. Once connected, press the Xbox button again to verify the link via the Game Bar, and you can start playing wirelessly.
The Xbox Game Bar is a powerful built-in overlay for Windows that provides quick access to numerous gaming features. You can launch it at any time by pressing the Xbox button on your connected controller. This handy tool allows you to record gameplay clips, take screenshots, monitor system performance like FPS and CPU usage, and control audio settings without leaving your game. It also offers shortcuts to your game libraries and social features. For Steam users, a long press of the Xbox button can switch Steam into Big Picture Mode, creating a seamless, console-like interface. This integration makes the Xbox controller not just an input device, but a central hub for managing your entire PC gaming experience.
(Source: Tom’s Hardware)