Google Wallet adds 3 more digital passport IDs for Android
▼ Summary
– Google Wallet now supports adding passport IDs from Brazil, Singapore, and Taiwan, expanding beyond the US and UK.
– To add a passport, tap the plus button, select ID, then choose passport under “ID pass.”
– The setup process requires photographing the passport’s info page, scanning its embedded NFC chip, and recording a brief selfie video.
– Only one ID pass can be added per Google Account, and it can be removed via the phone app or Google Account settings.
– The NFC scan involves placing the phone on a flat surface and slowly moving it over the passport’s front cover, back cover, or photo page.
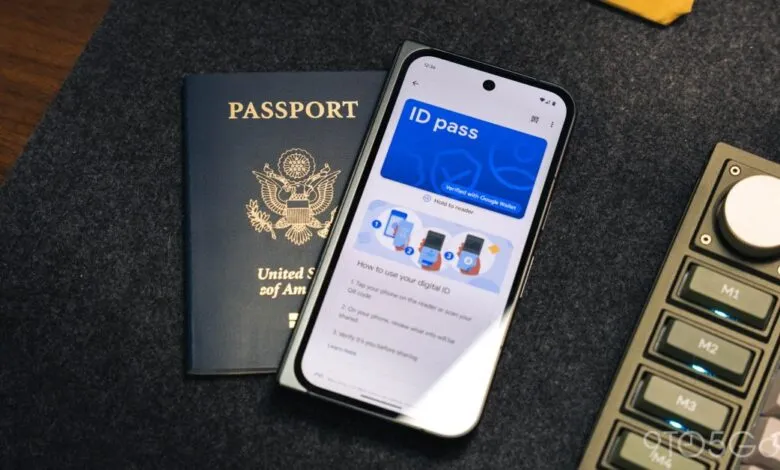
Google Wallet has quietly expanded its digital passport feature, now supporting three additional countries for Android users. This follows the initial rollout in two nations, bringing the total to five supported passport IDs.
The feature allows you to store a digital version of your passport directly in the Google Wallet app. The service originally launched for U. S. passports and later extended to the United Kingdom last year. Now, users from Brazil, Singapore, and Taiwan can also take advantage of this convenience.
To get started, open Google Wallet and tap the ‘plus’ floating action button (FAB), then select ID. Under the “ID pass” section, choose your passport. The setup involves a straightforward three-step process: first, take a clear photo of your passport’s info page. Next, use your phone’s NFC chip to scan the security chip embedded in the passport’s back cover. Finally, record a brief selfie video to verify your identity.
Google recommends placing your passport on a flat surface and opening the front cover, back cover, or photo page. Ensure NFC is enabled and remove any phone case. To locate the chip, slowly move the back of your phone around inside the passport’s front cover, back cover, or photo page.
You can only add one ID pass to your Google Account at a time. If you need to remove it, you can do so directly from the phone app or online at myaccount.google.com. For more detailed instructions, Google provides additional guidance on their support page.
(Source: 9to5google.com)